The more wear and tear your wooden floor is exposed to, the more you’ll need to start giving it some tender loving care. If your floorboards have started to dry out or worked loose from their fitting due to an abundance of footfall, chances are they’ll have started to squeak and creak. Luckily, this isn’t a hard or expensive job to take on and can be a quick fix. Key to fixing a squeaky floorboard is first finding out how it has been fitted – the floorboards will either be slotted together before being nailed to the joists, known as a tongue and groove board, or they’ll be a square-edged board which will be butted together.
If there are cracks in any of the boards you’ll want to replace them too while you’re conducting your repairs. Below we list a few handy tips on how to fix a squeaky floorboard:
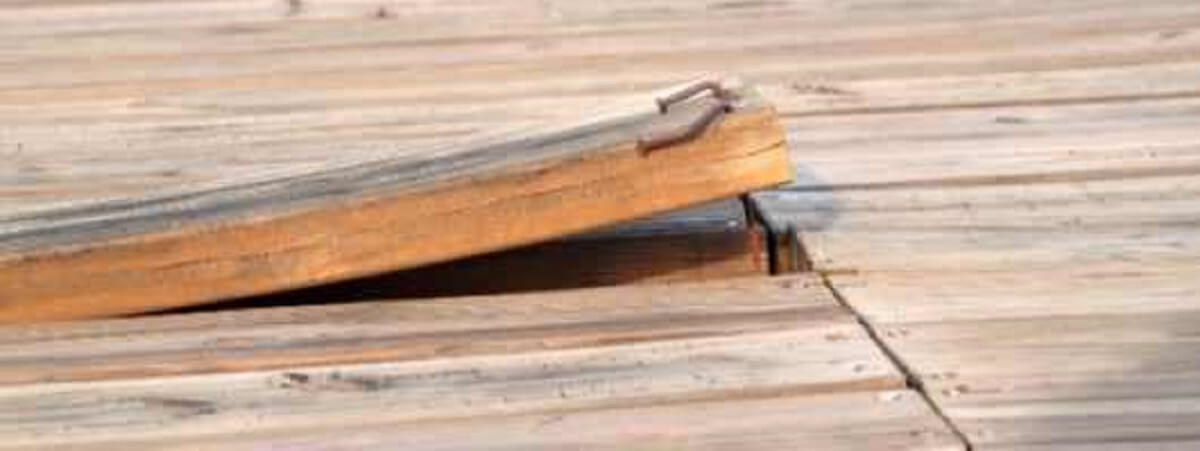
One of the most common reasons for floorboards to start squeaking is due to their nails becoming loose over time leading to the board no longer being fixed firmly. If this is the case, there are a couple of ways of going about the task so they’re as good as new.
A simple fix, especially if the floorboard is in otherwise great condition, is to remove the nails and simply screw the floorboard back down using the holes the nails were in. If the floorboard is a bit rough around the edges, you will be required to make new holes for the screws to go in. Here are the steps to securing your floorboard:
Step 1
First things first, you’ll need to identify which floorboard is loose. Get someone to walk over the floorboards and then see where it moves when walked on, and if the board is damaged you can just re-nail the hole as outlined above. If the board has seen better days, you’ll need to remove the nails with pincers or a claw hammer in order to lift it out.
Step 2
With the nails removed, drill a hole as near to the edges as you can in an area of the floorboard that’s in good condition. From there, put a screw in the hole and screw it in tightly, ensuring that the screw head sits snuggle below the surface.
Step 3
If you still notice a few squeaks once you’ve secured the floorboard firmly in place, on little tip we’ve noticed works again and again is to try sprinkling some washing powder or talc into the joint and work it in with a knife. Believe it or not, the squeak in your floorboard will soon be a thing in the past.