The decision to fit a new hardwood floor in your home is one that should never be taken lightly. This is because it is a major project for those inexperienced in carrying out this type of work, while the job doesn’t end once the floorboards are in place.
In this two-part article we will be showing you how to go about finishing a wood floor after it has been fitted, while championing the use of professional installers to ensure you get the most out of this investment and keep it looking great for many years to come.
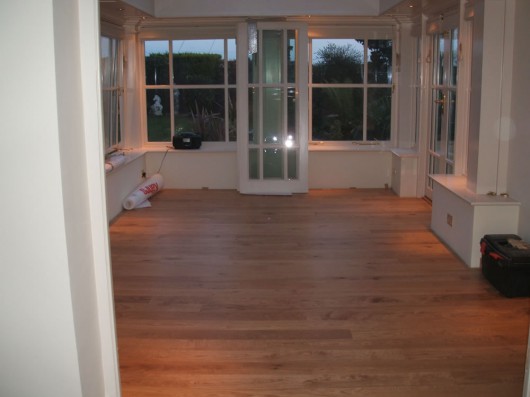
Once you have chosen the type of surface you wish to use, be this solid wood, oak or engineered wood, you will have to rip up all your old flooring and replace it with the new one. It can be a number of weeks before it looks exactly how you want it to.
The harder part starts once you begin the task of finishing these newly-fitted floors. This is an aspect overlooked by many people who assume they’ve already completed the job. The stark realisation that there is still a long way to go before the flooring is refined can be a blow to most DIYers.
There is no reason to worry though, as you can have this specialist work carried out by the professionals. Ideally, the engineers will have laid the flooring too, as problems can arise if this isn’t done properly.
Before the finish can be applied you will first want to ensure the wood floor feels smooth to the touch and there are no ridges or bumps spoiling this effect. This can be achieved by sanding the material down. We will be looking at this in more detail in Part 2.