It’s important to re-sand and refinish your hardwood floors from time to time if you want to keep them looking as good as new. This task might seem simple enough, but a lot can go wrong without doing the right prep work. Lack of preparation can leave your hardwood floors with permanently damaged grain or worse – uneven flooring. It’s also possible to end up with flammable sanding dust lurking in the corners of your home. Because of these potential issues, it’s crucial to be thorough with each step of preparing your hardwood floor to be re-sanded.
PREPARATION IS KEY
First, for the preparation step, clear the room of any obstructions. This includes furniture, decor, curtains and any other objects that are lying on the floor or close to it. It’s advisable to also temporarily remove any doors from their hinges if they obstruct a portion of the floor. Go over the floor foot by foot, checking for any raised nails, staples, and screws and make sure that all of these are made flush with the floor. Drive in the nails and remove any unnecessary staples and screws, if possible. Keeping them raised in the slightest runs the risk of tearing your sanding paper or damaging your sander. If there are loose boards, nail them down and make sure the nails are flush with the surface.
Then, ensure that you cover doorways, vents, windows and other openings leading to the house interiors. Closing them is not enough. You’d be surprised how much dust can get out of their nooks and cranny’s. Cover these gaps in heavy tape or drape larger openings with plastic. Don’t forget to also cover any electrical outlets that will be unused while you sand. Take measures to also protect yourself by using a protective dust mask, goggles, and earplugs. As for windows leading to the outside, leave them open to ensure that the dust gets out and the air circulates.
PLOT YOUR PATH
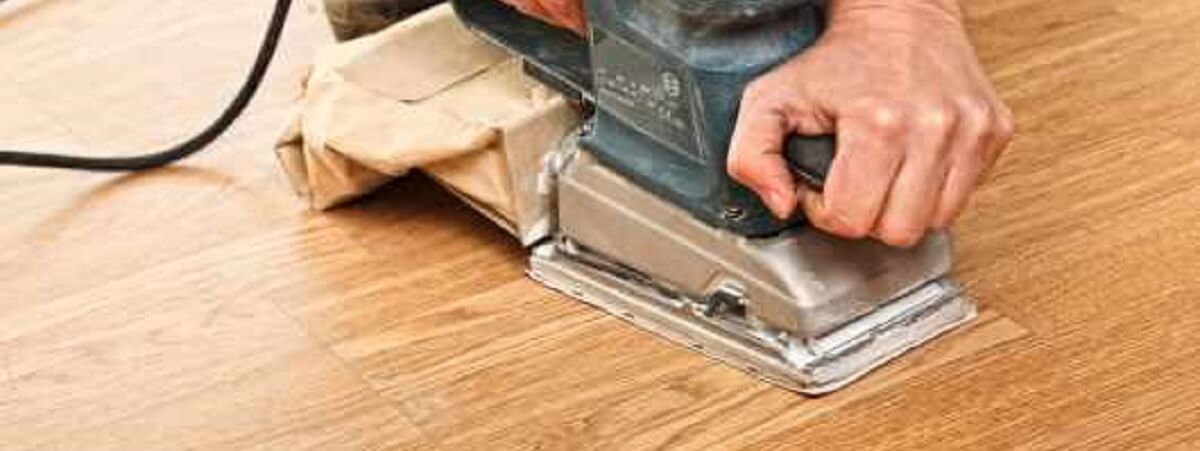
Once you’re done with all these tasks, it’s time to plot your sanding path. Make sure to go with the grain and avoid paths that will cause you to trip over the wires of your sander or vacuum cleaner. Your equipment should all be easily accessible so that you don’t risk spreading dust all over the house when entering and exiting the room.
Applying this kind of thoroughness with your prep work ensures that your re-sanding will go smoothly and safely. You’ll have nothing to worry about as long as all obstructions are out of the way and you adequately protect the area. Your re-sanding will be successful and your hardwood floors will look good as new if you follow the tips above.
For high-quality wood flooring, visit us at Just Wood.